Bulk Confirmations in BrainHi
Sending bulk confirmations is an essential feature in BrainHi to ensure that all your patients are informed about their upcoming appointments. Now you can send appointment time information to your patient by exporting an appointment file from your medical calendar. Follow these steps to complete the bulk confirmation process effectively.
How to Activate or Deactivate This Feature?
To activate or deactivate this feature, you can contact your customer service representative.
How Does It Work?
1. Go to your Conversations
First, locate the Conversations button in your BrainHi interface and click on it. This will allow you to select the appointments you want to confirm in bulk.

2. Select the Send message option
Go to the Send message field to send your confirmations.
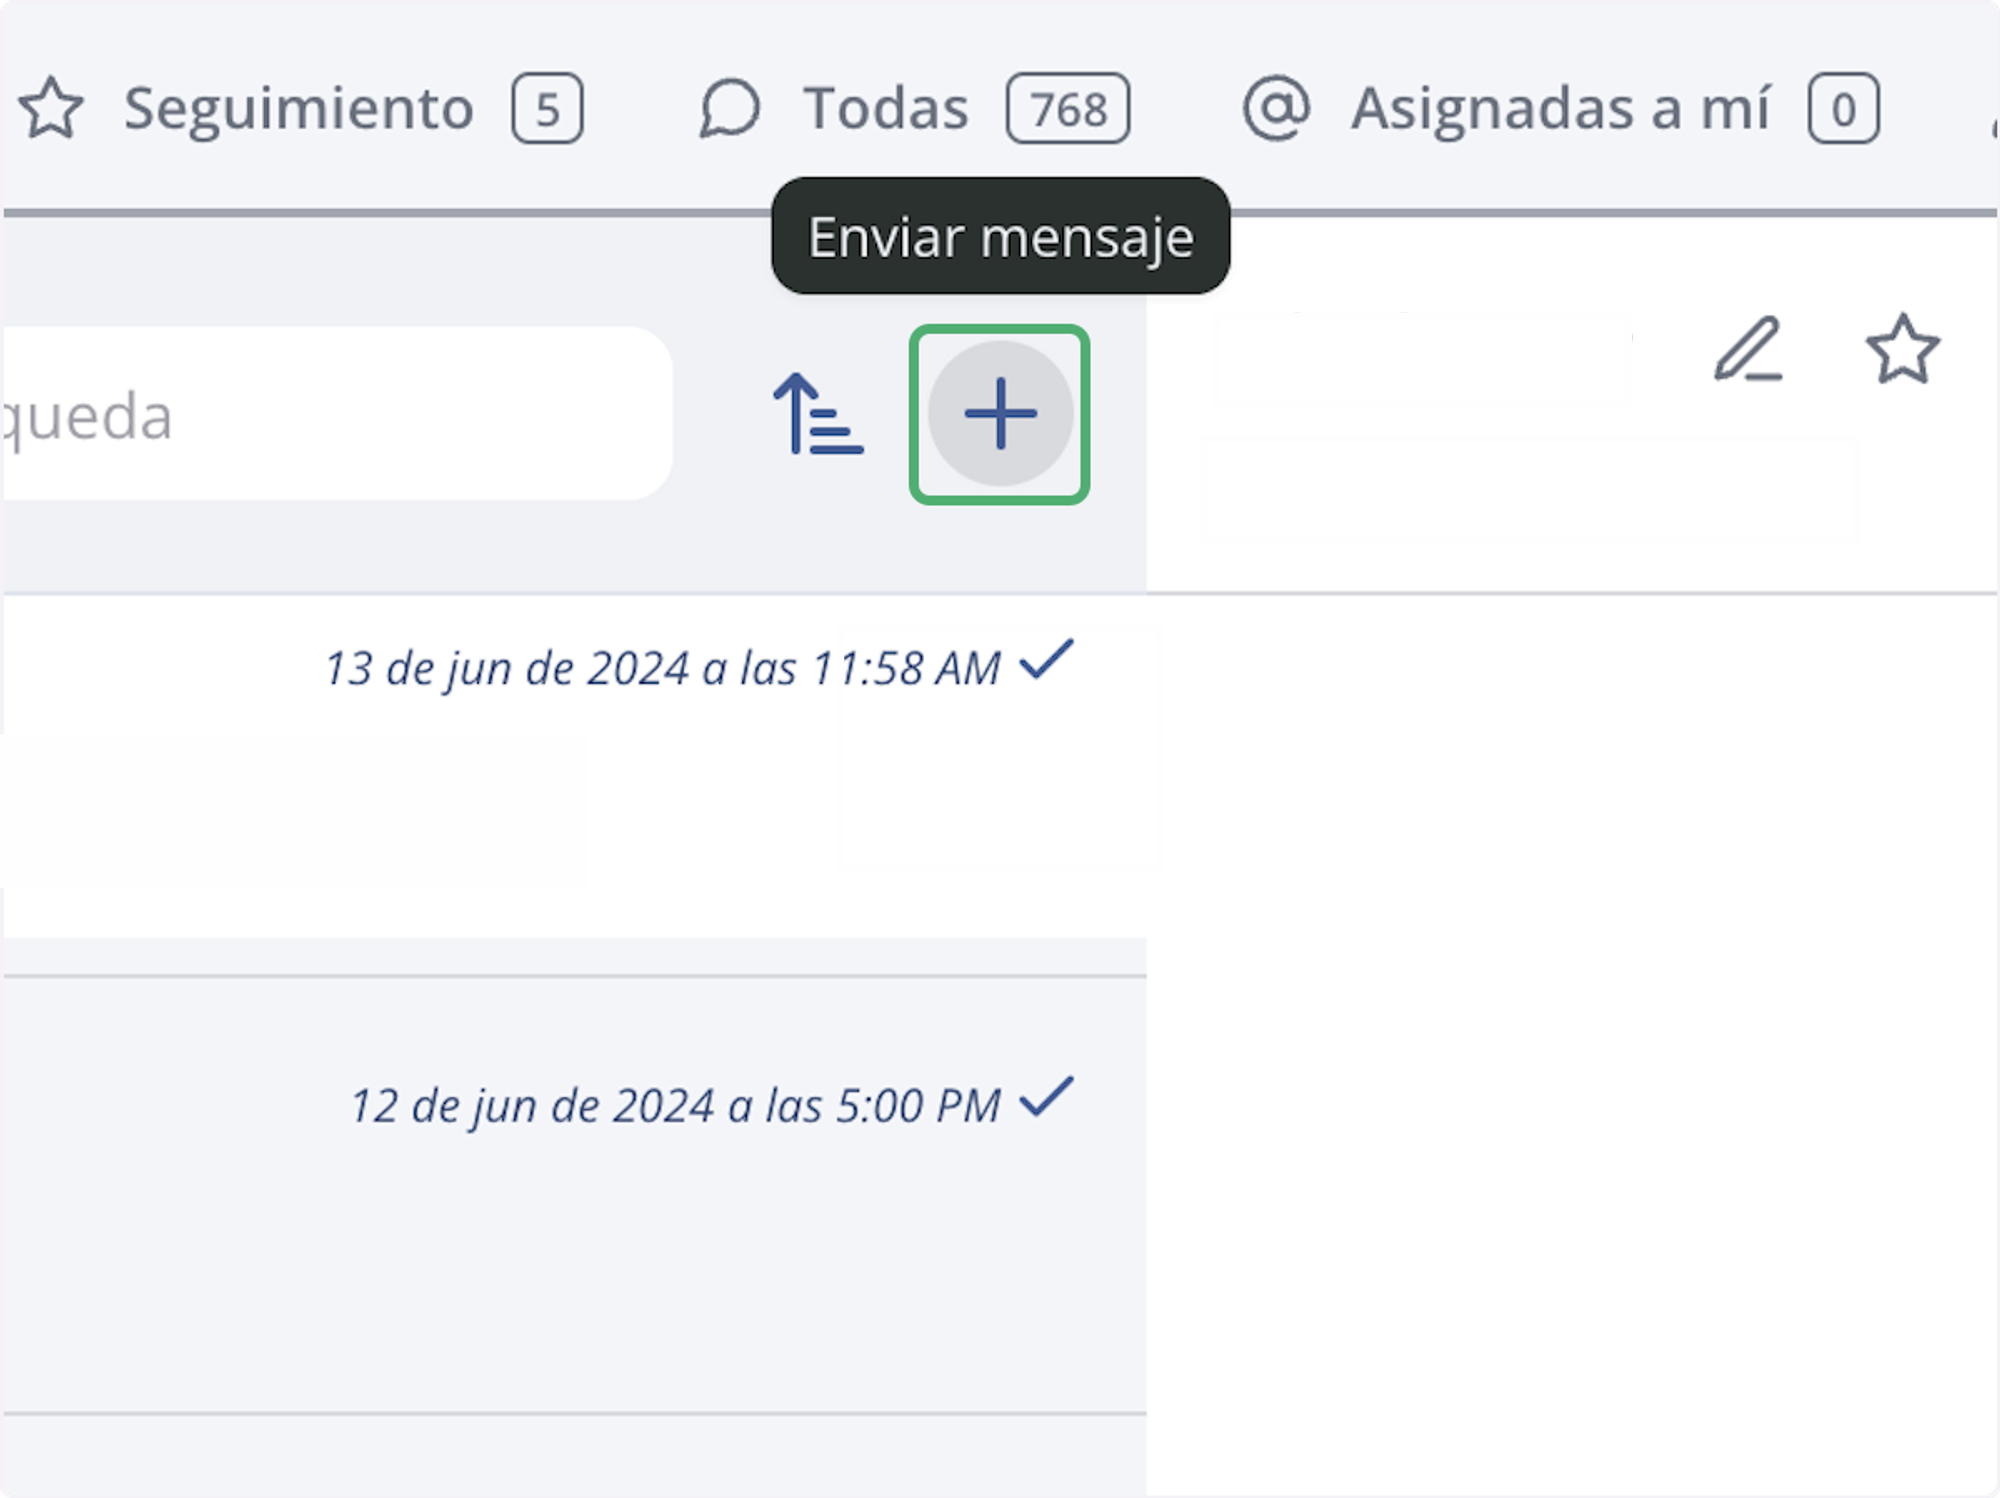
3. Click on Confirmation: Importing File
If you have a file with confirmation information, select the Confirmation: Importing File option. This will allow you to load a file to confirm multiple appointments at the same time.

4. Select a Date
To confirm appointments for a specific day, choose the corresponding date using the date selector. This ensures that only appointments scheduled for the selected day are confirmed.

5. Select the File
Next, load the file with the appointment details to confirm. Click Choose File and select the document in .csv format from your device.

6. Select the file from the upload menu
In the upload menu, select the file you want to use to confirm appointments in bulk. Make sure the file is in the correct format and includes all the necessary information.
The file selected for the bulk confirmation send including time and date must be in .csv format
7. Select the information columns
Once the file is uploaded, select the information columns you want to use for the confirmation. This option lets you customize which details will be sent in the confirmation message.
Make sure they reflect the text mentioned at the top, for example:

8. Click Confirm
Finally, review the details and click Confirm to send the bulk confirmations to patients. This will complete the process and ensure all patients receive their appointment confirmation.

9. Add a personalized message or click Send
If you wish, you can add a personalized message before sending the confirmation. Otherwise, simply click Send to complete the process.

You have successfully completed the bulk confirmation process in BrainHi!
Related Articles